

### Blog Post:
spray foam insulation DIY projects are tempting for homeowners who want to cut energy bills and upfront costs, but making the right choice between tackling it yourself or hiring a pro can save you from expensive mistakes, code violations, and potential health risks.
Key Takeaways
- DIY spray foam insulation kits can save money for small or simple jobs, but large or complex spaces usually warrant professional installation due to hidden pitfalls and code issues.
- Safety is critical: improper PPE, poor ventilation, or skipping code-required barriers can risk both your health and your home resale value.
- Accurate cost comparison means including prep, accessories, and waste—DIY is not always cheaper once these are factored in.
- Cost Snapshot — DIY Kits vs Professional Installation
- When DIY Kits Make Financial Sense (and When They Don’t)
- Open-Cell vs Closed-Cell — Cost, R-Value & Best Uses
- Common DIY Problems & Complaints (Attics & Wall Retrofits)
- Safety Risks & Building-Code Requirements Competitors Often Miss
- Minimum Prep, PPE & Safe Workflow for DIYers (Step Checklist)
- How to Calculate Coverage, Material Needs & True Cost (Include Waste + Accessories)
- Energy Savings & ROI — What to Expect vs Fiberglass
- Decision Flowchart & Final Checklist — Hire a Pro If…
- Next Steps & Resources (What to Read/Ask Before You Buy a Kit or Book a Pro)
Cost Snapshot — DIY Kits vs Professional Installation
When comparing spray foam insulation cost per square foot between DIY kits and pro installation, homeowners need to tally more than just the sticker price. In 2024, professional spray foam application typically ranges from $0.50 to $3.00 per square foot installed—with open-cell spray foam generally $0.50 to $1.50 per square foot, and closed-cell $1.00 to $3.00 per square foot. By contrast, DIY spray foam insulation kits cost about $0.35 to $1.00 per square foot in materials only.
For a typical 1,000-square-foot attic, your installed cost could swing from about $500 (DIY open-cell minimum) up to $3,000 (pro closed-cell maximum). However, DIYer waste, faulty application, and required accessories often mean actual DIY costs land closer to the middle or high end of the expected range—especially for small jobs or when mistakes happen.
For a full cost breakdown including open versus closed cell, see the complete spray foam insulation cost guide.
When DIY Kits Make Financial Sense (and When They Don’t)
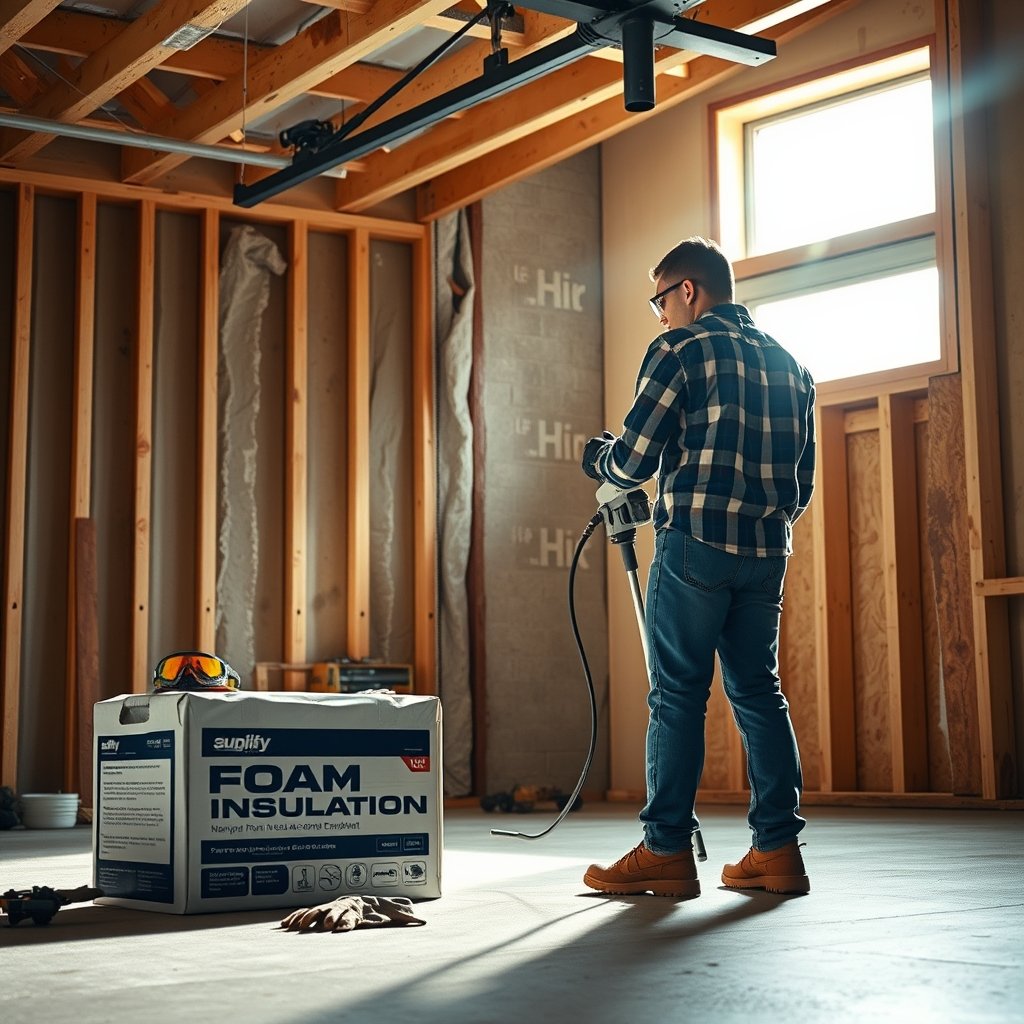
spray foam insulation DIY kits are best suited for jobs like sealing rim joists, small attics, garage bays, or repairing gaps. If it’s a large, complex project (e.g., whole-house retrofit, extensive wall cavities), or the space is tight and filled with ducts or wiring, the risks and difficulty multiply— often making pro installation a better value.
- DIY spray foam insulation kits: $0.35–$1.00 per sq. ft., but expect higher per-board-foot costs for small kits, plus potential rework if mistakes are made.
- Professional installation: $0.50–$3.00 per sq. ft., including labor, specialized tools, and correct installation per code.
Hidden cost drivers include wasted material from off-ratio mixing, having to re-spray thin spots, needing extra kits, and renting or buying PPE and ventilation equipment. Before you go DIY, tally up all costs including these “gotchas.”
Open-Cell vs Closed-Cell — Cost, R-Value & Best Uses
Choosing between open cell vs closed cell spray foam isn’t just about price:
- Open-cell: $0.50–$1.50 per sq. ft. installed; delivers moderate R-value (~3.5–4 per inch) and is highly effective for air sealing, but doesn’t act as a vapor barrier. Best for interior walls or attics where moisture isn’t a concern.
- Closed-cell: $1.00–$3.00 per sq. ft. installed; much denser, R-value of 6–7 per inch, and provides a vapor barrier. Adds structure and is ideal for rim joists, exterior walls, or any area prone to moisture.
Closed-cell’s added density and vapor barrier properties are the main reasons for its higher price. DIY open-cell kits generally run at the lower end of the cost scale (source).
Common DIY Problems & Complaints (Attics & Wall Retrofits)
Many spray foam attic insulation and wall retrofit projects go wrong when DIYers run into these common problems:
- Off-ratio mixing (foam fails to expand or sets “tacky”)
- Uneven coverage, thin spots, or missed cavities—often invisible until after foaming
- Poor adhesion on dirty/damp substrates, leading to peel-away failures or air leaks
- Clogged spray guns and jammed hoses (kits often do not include spares, which halts work)
- Major overspray and messy clean-up, especially near wiring or fixtures
- Excess waste (overestimating yield, purchasing too many small kits, or badly planned spray sequences)
Multiple sources caution that “installing spray foam isn’t a DIY project” for many homeowners. Smaller kits may make sense for limited jobs, but per-board-foot cost quickly rises, and bad application leads to lost savings. Learn more about typical DIY pitfalls—and how to avoid them—in the detailed cost comparison.
Safety Risks & Building-Code Requirements Competitors Often Miss
Most online spray foam insulation DIY guides overlook these critical safety and code items:
- Isocyanate chemical exposure—full PPE (respirator, suit, gloves, goggles), skin/eye protection, and mechanical ventilation are mandatory
- Curing and off-gassing—occupants (including pets) should be out of the home during and directly after spraying
- Fire codes—spray foam in attics and crawlspaces usually requires an ignition or thermal barrier over the foam (commonly drywall or intumescent coating), often adding $0.65–$1.00 per sq. ft. to your cost (source)
- Vapor barrier management—closed-cell foam acts as a vapor barrier and may trap moisture, causing rot if misapplied
- Permitting—many areas require permits for insulation jobs and work must meet local codes, fireblocking, and inspection requirements
Professional installation covers these details by default. If DIY, check requirements with your local building department before starting.
Minimum Prep, PPE & Safe Workflow for DIYers (Step Checklist)
Whether you’re insulating rim joists, walls, or attics, use this minimum setup for any spray foam insulation DIY job:
- Check permit and code requirements for your city or county
- Assess job access (can you reach cavities safely?) and inspect surfaces—must be clean, dry, and above 60°F
- Move or cover HVAC, electrical, and valuables—overspray is very hard to remove
- Air-seal penetrations before starting foam
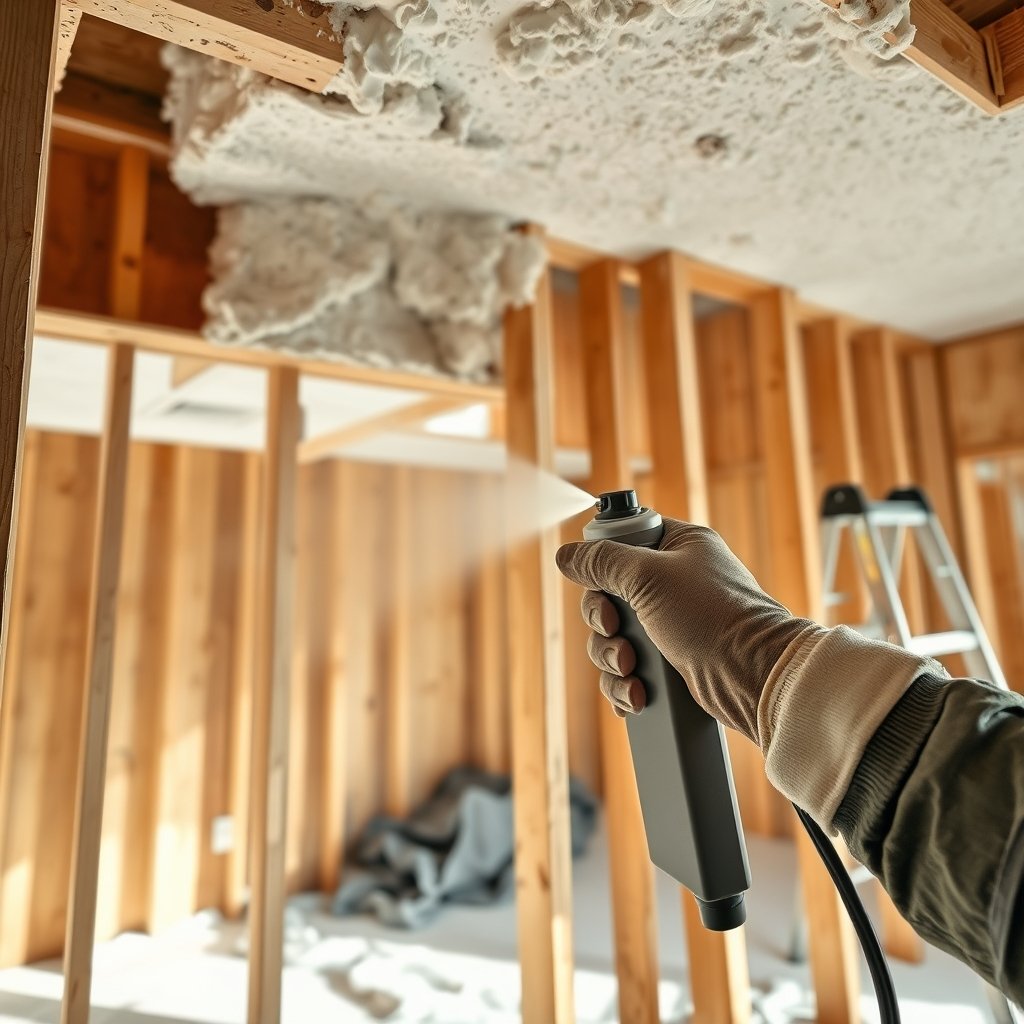
- Don full PPE: NIOSH-approved respirator, tyvek suit, chemical-rated gloves, goggles
- Set up forced-air ventilation (fans pulling air to the outside), not just open windows
- Perform a test spray on cardboard or scrap to check mix and adhesion
- Work in small, manageable sections—don’t try to foam the entire space in one go
- Allow full curing as per manufacturer (varies from 1–24 hours)
- Clean up all waste and spent kits per hazardous material guidelines
How to Calculate Coverage, Material Needs & True Cost (Include Waste + Accessories)
Calculating coverage the DIY way starts with the “board foot.” One board foot is 12 inches by 12 inches by 1 inch thick. Here’s how to figure out how many kits you need:
- Multiply your total square footage by desired thickness (in inches) to get total board feet
Example: 500 sq. ft. at 3 inches thick = 1,500 board feet. - Add 15% for waste and overlap (DIY is rarely perfect).
- Check kit coverage claim—most DIY kits list ‘board feet’ per box.
- Don’t forget accessories:
- Extra nozzles and hoses if needed
- Rental or purchase of respirators, tyvek suits, and venting fans
- Igntion or vapor barrier materials, often at $0.65–$1.00 per sq. ft.
- Tally total cost: Kits ($0.35–$1.00/sq. ft. for DIY) plus all add-ons. Compare to pro at $0.50–$3.00/sq. ft. installed. If your total creeps close to pro pricing, consider calling a local specialist.
For more about calculating material needs for home upgrades, check out our LVP flooring installation cost guide and our detailed ADU garage conversion cost breakdown.
Energy Savings & ROI — What to Expect vs Fiberglass
Spray foam’s big advantage over fiberglass is air sealing and superior R-value per inch, especially closed-cell. That helps cut utility bills and stop drafts.
However, spray foam insulation cost vs fiberglass means a higher upfront investment. According to Angi and HomeAdvisor, the average professional spray foam insulation job clocks in at $2,756, versus $1,500–$2,000 for blown-in fiberglass in similar spaces (BobVila). Real-world savings vary, but expect foam to outpace fiberglass in very leaky old homes or places with high climate-control costs.
Closed-cell foam alone adds a vapor barrier, essential for basements or coastal properties. ROI improves if you live in an area with extreme temps or plan a deep energy retrofit. See our home energy audit guide for tips on maximizing efficiency upgrades.
Decision Flowchart & Final Checklist — Hire a Pro If…
Use this checklist to decide if you should attempt spray foam insulation DIY or hire a professional:
- Total project size exceeds 400–500 sq. ft. or involves the whole attic/house
- Your space is hard-to-access (narrow joists, extensive wiring/ductwork)
- You can’t guarantee isolation of HVAC systems, pets, or occupants during install/curing
- Permits, fire-blocking, and ignition/thermal barriers are required, and you’re unsure how to install them
- There’s existing moisture, mold, or questionable substrate conditions
- You lack proper PPE and mechanical ventilation setup
- The total DIY cost (kits, PPE, ventilation, barriers) is close to or exceeds pro quote ($0.35–$1.00/sq. ft. for DIY materials, $0.50–$3.00/sq. ft. professional installed, average pro project: $2,756)
If hiring out, always request:
- Detailed written quote (board-foot coverage, R-value, labor + material breakdown)
- Proof of license, insurance, and references
- Confirmation of code compliance, barrier requirements, and cleanup
For help choosing the right pro, see tips in our heat pump water heater cost guide and luxury vinyl plank installation checklist.

Next Steps & Resources (What to Read/Ask Before You Buy a Kit or Book a Pro)
Before committing to any spray foam insulation DIY or professional install, check these boxes:
- Check local code and permit requirements (city/county office)
- Download the MSDS (material safety sheet) for your intended kit—note PPE and ventilation needs
- If hiring a contractor, ask for a detailed quote listing board-foot coverage, R-value, and all required barriers
- If DIY, triple-check kit coverage math and allow for waste/overage
- Budget for ignition or vapor barrier install ($0.65–$1.00 per sq. ft.) if required
See our complete spray foam cost guide and for related energy upgrades, explore our articles on whole home battery storage and induction cooktop retrofits.
Remember: core cost ranges are $0.35–$1.00 per sq. ft. for DIY kits, $0.50–$3.00 per sq. ft. installed. Always weigh savings against safety, complexity, and code compliance before committing.
FAQ
Is spray foam insulation DIY safe for attics?
DIY can be safe if you follow all PPE rules—respirator, goggles, suit—and have excellent ventilation. Never attempt this with pets, children, or other occupants present, and always check for fire and vapor barrier requirements.
How do I calculate how much spray foam DIY kit I’ll need?
Multiply your square footage by desired insulation thickness (in inches) to get board feet (e.g., 500 sq. ft. x 3″ = 1,500 board feet). Always add about 15% for waste.
What’s the biggest risk of DIY spray foam insulation?
The main risks are improper chemical mixing and missing critical safety steps, resulting in poor coverage, bad adhesion, health hazards, or violating code—sometimes making later correction more expensive than pro install.
Is spray foam insulation worth it compared to fiberglass?
Spray foam delivers better air sealing and higher R-value per inch, which translates to greater energy savings. However, it costs more upfront—especially with professional install. ROI is best in leaky, hard-to-insulate homes or extreme climates.
How much does it cost to have a pro install spray foam insulation?
Expect to pay $0.50–$3.00 per sq. ft. professionally installed, averaging about $2,756 for mid-size jobs, which includes labor, code compliance, and clean-up.