

### Blog Post:
Indoor air quality monitor use isn’t just about numbers—it’s about delivering measurable relief for allergy and asthma sufferers. If you or a family member wakes up to sneezing, stuffiness, or asthma flares, the right monitor can reveal the cause and confirm when your efforts to clean up the air actually work. Here’s how to use smart sensors, not guesswork, for better breathing at home.
Key Takeaways
- Indoor air quality monitors empower you to pinpoint and fix causes behind allergy and asthma symptoms—with hard data, not guesswork.
- Research shows using a monitor, plus ventilation and filtration, measurably lowers asthma symptoms and urgent doctor visits.
- Choosing the right sensors, proper placement, and a clear action plan turn any IAQ monitor into a life-improving tool, especially after renovations or major appliance changes.
- Why monitoring indoor air matters—The case for measurement first
- Step-by-step guide: Making measurements count for your family’s health
- Advanced analysis & common pitfalls (and how to avoid them)
- Conclusion—Measured gains and next steps
- FAQs on indoor air quality monitors
Why monitoring indoor air matters—The case for measurement first
The air inside your home can be up to five times more polluted than outdoor air, and most people spend about 90 percent of their time indoors (AAFA). Factors like recent renovations, new appliances, and even everyday cleaning can introduce harmful particles and gases. An indoor air quality monitor gives you real-time insight so you can tackle issues before they become major health problems. Measurement is the first step: it turns invisible risks—like PM2.5 and nitrogen dioxide—into something you can act on for immediate relief.
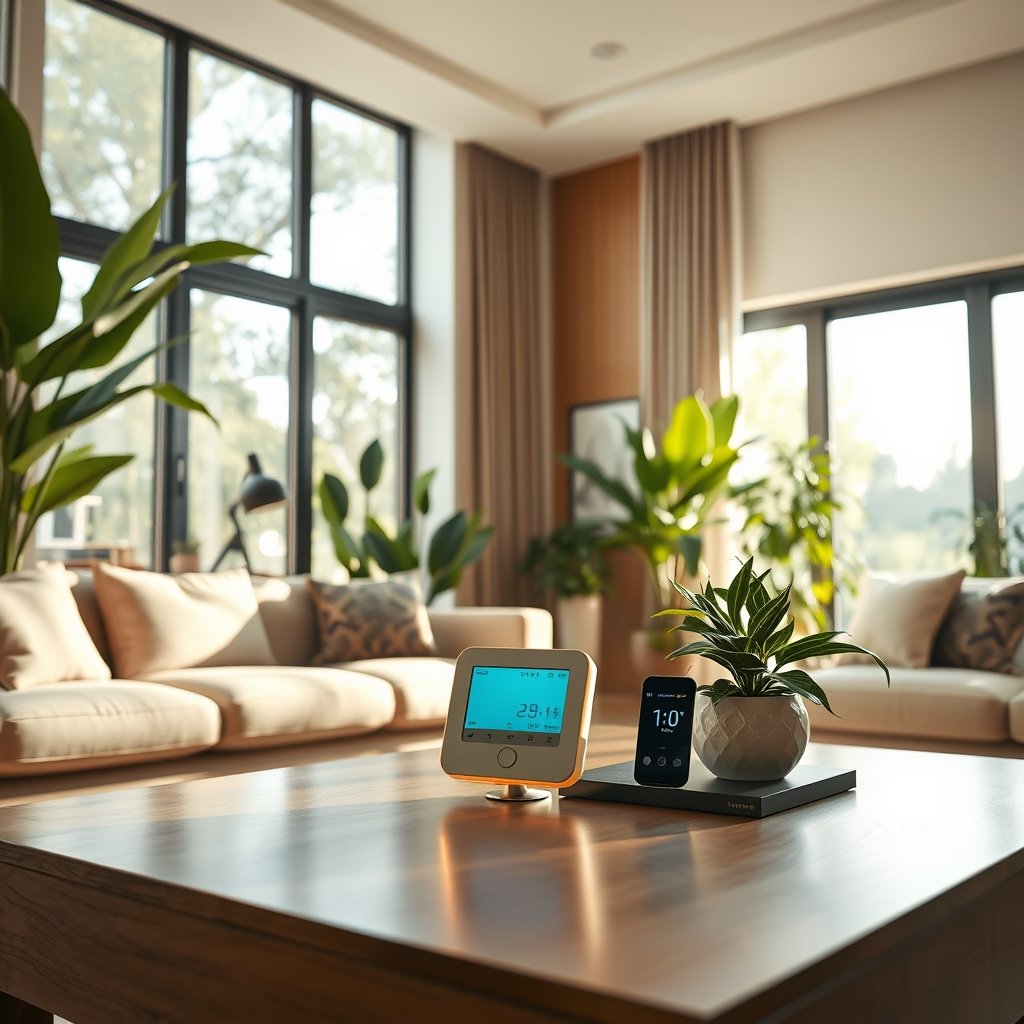
Without monitoring, you are operating on assumptions. Ventilating, swapping filters, or unplugging a gas stove may help, but unless you track actual changes in pollutant levels, you may not solve the real triggers making your family sick. Measuring comes first, so mitigation works better and outcomes are provable—especially critical for caregivers managing allergy or asthma in children or adults.
Step-by-step guide: Making measurements count for your family’s health
The real value of a smart monitor starts when you use it to identify problems, correct them, and see the results. Here’s a straightforward process to get measurable health benefits, not just generic numbers:
1. Choose your monitor wisely: Look for models with these sensors: PM2.5 (fine dust and smoke), NO2 (combustion gas), CO2 (ventilation), total VOCs (chemicals), and humidity. True PM2.5 laser sensors and NDIR for CO2 offer the best accuracy. Monitors that connect with smart-home platforms can automate air purifiers or ventilation systems for you.
- Check for HEPA integration if you want your monitor to trigger purification automatically. Some models support direct pairing with HEPA air purifier combos.
- Check detection limits—many monitors don’t tell you what specific VOCs they detect. For most homeowners, PM2.5 and NO2 are most tightly linked to symptoms and hospital visits.
If you recently installed a ventless washer dryer combo, monitoring air quality is especially important. Keep track of humidity and VOCs after appliance changes.
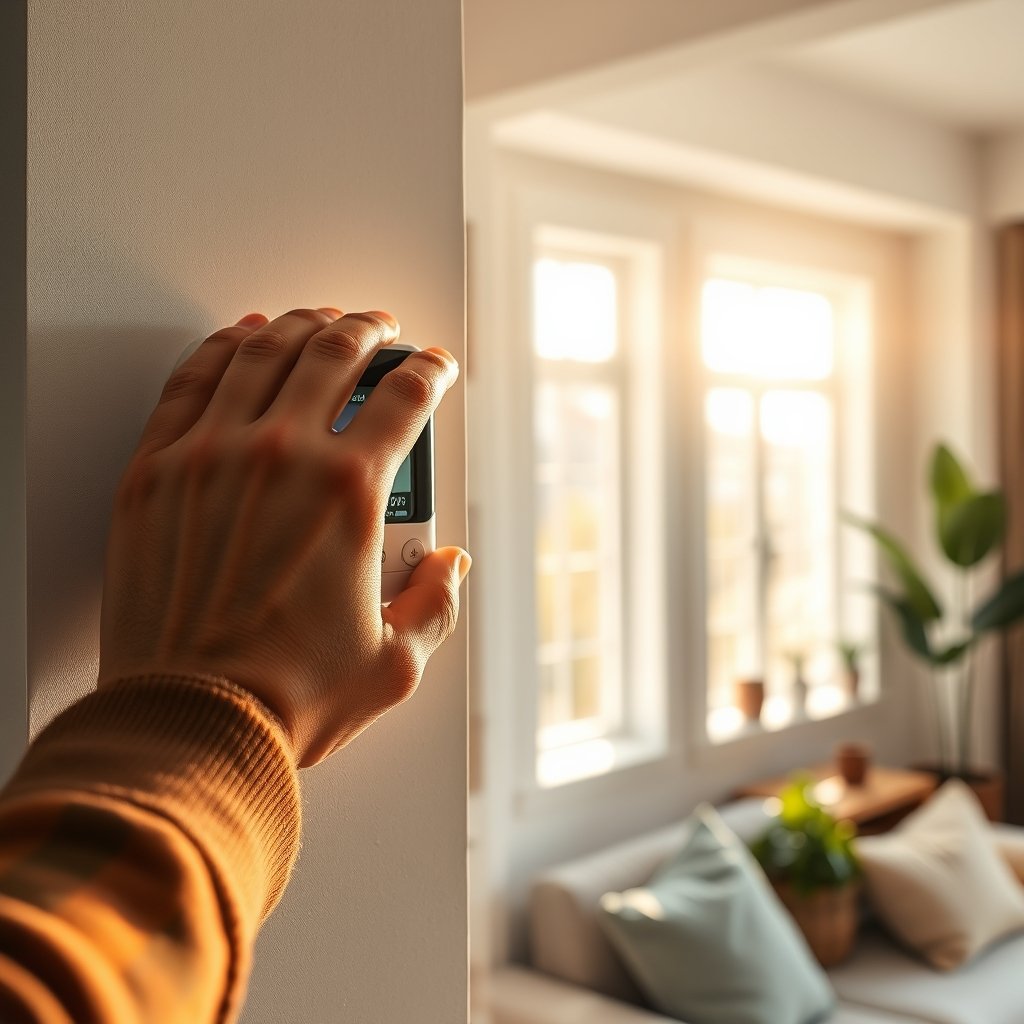
2. Set up and validate: Run these five tests your first week:
- Baseline: Take the monitor outside for 15 minutes; jot down outdoor readings. Inside, compare. If they’re nearly identical, your indoor air is relatively clean; if indoor PM2.5 or VOCs are higher, there’s work to do.
- Candle/incense test: (see above hack). Should respond within 30–60 seconds with a sharp PM2.5 jump; recovery speed shows your air change rate.
- CO2 exhale test: Breathe on the monitor from a close-but-safe distance; CO2 should jump instantly and return to baseline in minutes.
- Humidity change: Run a humidifier in a closed room; monitor should track changes within 15 minutes.
- Compare with reference: When possible, match your results to readings from a nearby outdoor station or a portable professional monitor. Small differences are normal, but major disagreement may mean calibration or placement problems.
3. Act wisely on alerts:
- PM2.5 spikes: Ventilate immediately (open windows, run bathroom or kitchen fans), and run a certified HEPA air purifier. Repeat the “blow out candle” test to see if mitigation works.
- NO2 or VOC rise: If values rise after cooking or cleaning, ventilate and review product use. For frequent spikes, consider switching appliances to electric (see: induction cooktop retrofit cost guide). If readings stay elevated, investigate for hidden leaks or sources like improperly vented heaters.
- High CO2: Indicates poor ventilation. Open windows or run ventilation for 10–30 minutes if levels are above 1000 ppm.
- Too much humidity: Above 60% can worsen dust mites; use a dehumidifier or increase AC run time.
Every intervention should produce measurable drops on your indoor air quality monitor. If not, adjust your approach or request a professional assessment.
Tight insulation or sealed windows can worsen PM2.5 or CO2 buildup. Always check IAQ after energy upgrades.
Advanced analysis & common pitfalls (and how to avoid them)
No monitor is perfect. Here are the realistic problems most homeowners experience—and how to avoid them:
| Problem | How to Prevent or Fix | Recommended Feature |
|---|---|---|
| Sensor accuracy drift after a few months | Buy brands with published calibration policies, or access to manual recalibration | Auto-calibration or user calibrate option |
| Frequent false VOC alarms | Choose monitors with documented VOC sensor specs (or prioritize PM2.5/NO2 instead) | Explicit detection limits/species if available |
| Slow response to real events | Run “candle/incense” test regularly; replace batteries/follow firmware updates | Live or fast-sampling mode |
| Poor placement—readings don’t reflect breathing zone | Mount at chest height in main rooms, away from direct airflow | Clear placement instructions |
| Connectivity/app issues | Choose brands with positive reviews for app stability, regular updates, and export options; avoid off-brand imports | Smart-home and data logging integration |
| Battery runs out too fast | Prefer models with plug-in power for full-time use; use batteries only for temporary checks or travel | Battery plus wired option |
| Can’t measure specific VOCs or formaldehyde reliably | Rely mainly on PM2.5/NO2 to guide action; consult professionals if you suspect a formaldehyde leak | Lab testing if speciation is critical |
User-centered research strongly recommends IAQ monitors for home that are easy to understand, offer actionable insights, and support caregivers managing asthma or allergies (JMIR study). Always check that your chosen model’s app is reliable and updated—and that it doesn’t bury important alerts.
If you want to integrate home air quality with other smart systems, explore options that pair with voice assistants and automate responses—like turning on your HEPA air purifier combo or ERV when pollutants spike. Monitors that log data help you see progress over time and prove whether your recent LVP flooring installation or new paint is causing issues.

Caution: Even the best indoor air quality monitor has limits. Consumer VOC sensors rarely identify individual chemicals; they provide only a total. Some pollutants (like formaldehyde) may escape detection at dangerous levels. Regular symptoms in spite of normal readings should never be ignored—seek skilled remediation or medical advice promptly.
Conclusion—Measured gains and next steps
An indoor air quality monitor is not a magic fix—it’s a catalyst. Used right, it will help you catch rising pollutants before symptoms flare, target the right upgrades, and know—quantifiably—when your home’s air actually gets healthier. The biggest health gains for allergy and asthma sufferers come when you pair regular monitoring with focused fixes like HEPA filtration, upgraded ventilation, or appliance changes. Research links these steps to fewer ER visits, less missed work or school, and better sleep and breathing for families. If you’re ready to see results, choose a validated monitor, place and test it carefully, and be ready to act on what you find. If symptoms persist despite clean readings, consult a professional—your health is worth it.
Ready to take the first step toward better breathing? Start by selecting the best air quality monitor for allergies, follow the validation and action steps above, and track your improvement. Your home’s air—and your family’s wellbeing—can show measurable improvement within weeks.
FAQs on indoor air quality monitors
What is the most important pollutant for asthma and allergy sufferers to monitor?
PM2.5 is the top culprit—these tiny particles are directly linked to worsening asthma symptoms and more frequent emergency room visits. NO2 is also crucial if you use gas appliances. Look for monitors that track both.
How can I know my monitor’s readings are accurate?
Do an outdoor baseline check, a candle/incense smoke test for PM2.5, and a CO2 “exhale” spike. Compare your readings against local reference monitors. These steps will quickly reveal if your device is reliable or needs adjustment.
Can a home air quality monitor prevent all allergy or asthma symptoms?
No monitor is a guarantee. While you can reduce risks and flare-ups by taking action on alerts, some symptoms may persist due to unmeasured pollutants, underlying health conditions, or other triggers. Always involve your healthcare provider.
What’s the best location for my indoor air quality monitor?
Main living or sleeping areas at head height, away from direct air sources (vents, stoves, windows). Avoid corners and stay clear of humidifiers or purifiers blowing directly into the monitor for fair readings.
Do I need a smart-home compatible monitor?
Not required, but highly useful—especially if you want to automatically trigger an air purifier or ventilation system when pollution climbs. Look for models with HEPA air purifier combo or air quality sensor smart home features.