

### Blog Post:
Fluted panel wall DIY projects offer one of the most budget-friendly ways to add depth, texture, and instant style to any room—without the high price of custom millwork or a contractor. This guide walks you through EXACTLY how to do it yourself, where to source materials, and how to avoid mistakes even experienced DIYers make.
Key Takeaways
- You can save 40–60% vs. professional installation on a fluted panel wall DIY—even if you buy new tools.
- Skilled layout and prep are critical to avoid seams, misalignment, and wasted materials.
- Budget options (like MDF panels) cost about $5–$12 per square foot, while natural wood or PVC cost more but resist moisture better.
- Why a Fluted Panel Accent Wall Works for Budget DIYers
- Step-by-Step Installation Guide
- Advanced Analysis & Common Pitfalls
- Conclusion & Next Steps
- FAQ
Why a Fluted Panel Accent Wall Works for Budget DIYers
Fluted panel walls instantly create depth and elegant rhythm in any interior by casting shadows and catching the light. The subtle vertical lines of fluted wood panels for interior walls are especially popular because they add architectural impact while hiding minor wall imperfections. They’re well-suited for living rooms, bedrooms, entryways, or even half-walls in dining areas.
This project offers major design leverage without a huge commitment—especially compared to custom millwork or full shiplap walls. Not only are panels one of the more budget-friendly accent wall options, but the tools required (like a brad nailer and circular saw) are usually a one-time investment. If you already own them, your out-of-pocket cost for a fluted panel wall DIY drops substantially.
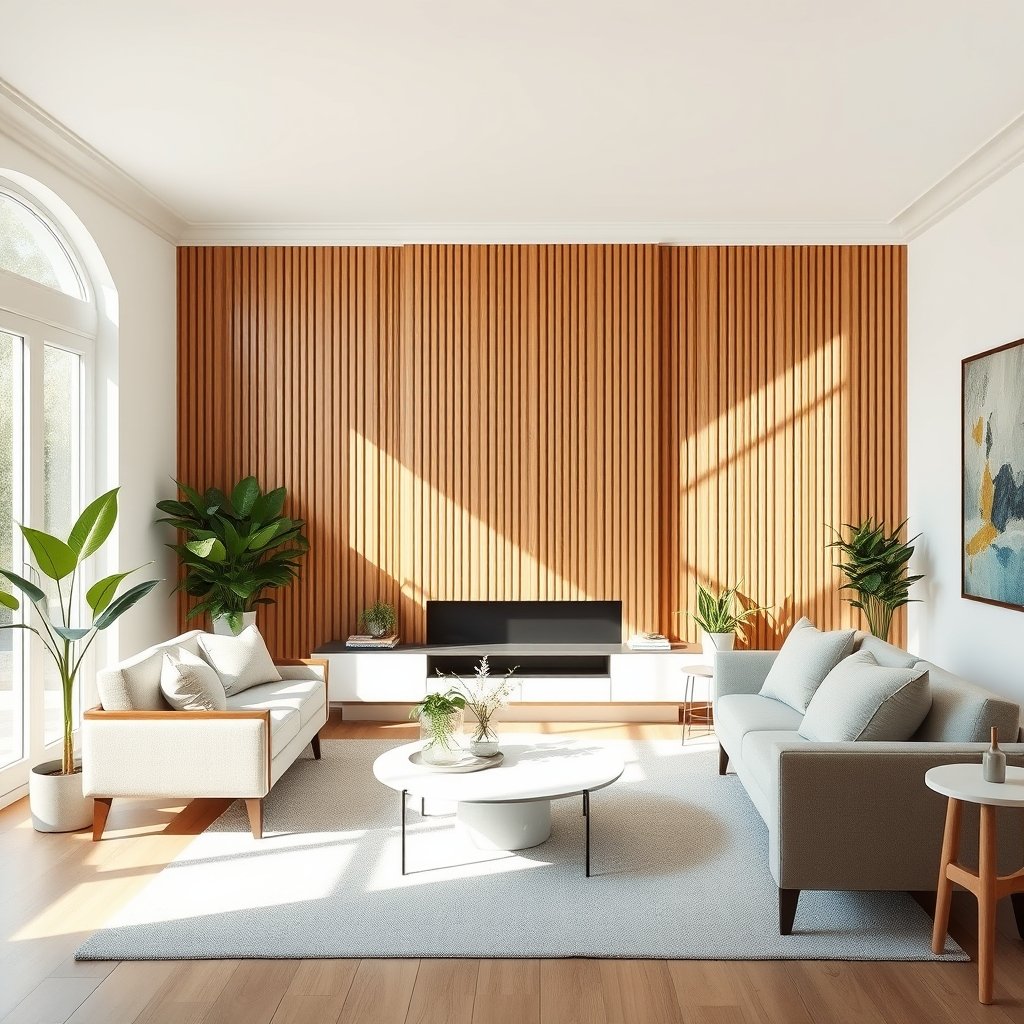
Wondering which rooms are best? Start with spaces that need a focal point—like behind the TV, in a bedroom, or as an entry feature. Even small walls can have big impact.
For a deeper dive on the basics of wall upgrades, check out our guide to fluted vs. shiplap vs. wood slat walls.
Step-by-Step Installation Guide
The following process assumes you’re moderately handy and have access to standard tools. Tweak material recommendations based on your room, budget, and finish preference.
1. Confirm Material Quantities & Prep
- Calculate your total wall square footage. For waste, order 5–15% extra—more if you expect tricky cuts.
- Recommended materials: MDF panels or PVC fluted wall panels for interior use. PVC or WPC panels for bathrooms or humidity.
- Typical MSRP in 2024: $5–$12/sq ft (MDF), $20–$35/sq ft (wood/PVC/WPC). See this breakdown for cost drivers.
2. Tool Checklist
- Circular/track saw with fresh blade
- Brad nailer (18ga or 16ga), compressor
- Construction adhesive (Loctite PL Premium or Liquid Nails)
- Tape measure, pencil, and marking tools
- Laser level (HIGHLY recommended for long runs)
- Spacers (pennies, tile spacers, or craft sticks)
- Paintable caulk and caulking gun
- Primer, paint, quality brush and sprayer or foam roller
- Sandpaper (120/220 grit)
For a full shopping list with links and waste calculations, see our tool checklist for fluted panel wall DIY.
3. Wall Prep & Layout
- Remove baseboards and any existing trim you want to replace.
- Patch holes, flatten high spots, and sand smooth for best adhesion.
- Sketch a panel layout (use painter’s tape to mock up flute spacing at edges and corners).
- Create a laser level line at your starting edge or along the panel top—this is your “starter rail.”
4. Cutting & Fitting Panels
- Measure heights at several locations (walls and floors are rarely level).
- Cut panels to length and dry-fit as you go. If there are outlets, mark cutouts precisely—use a jigsaw or multi-tool for clean trims.
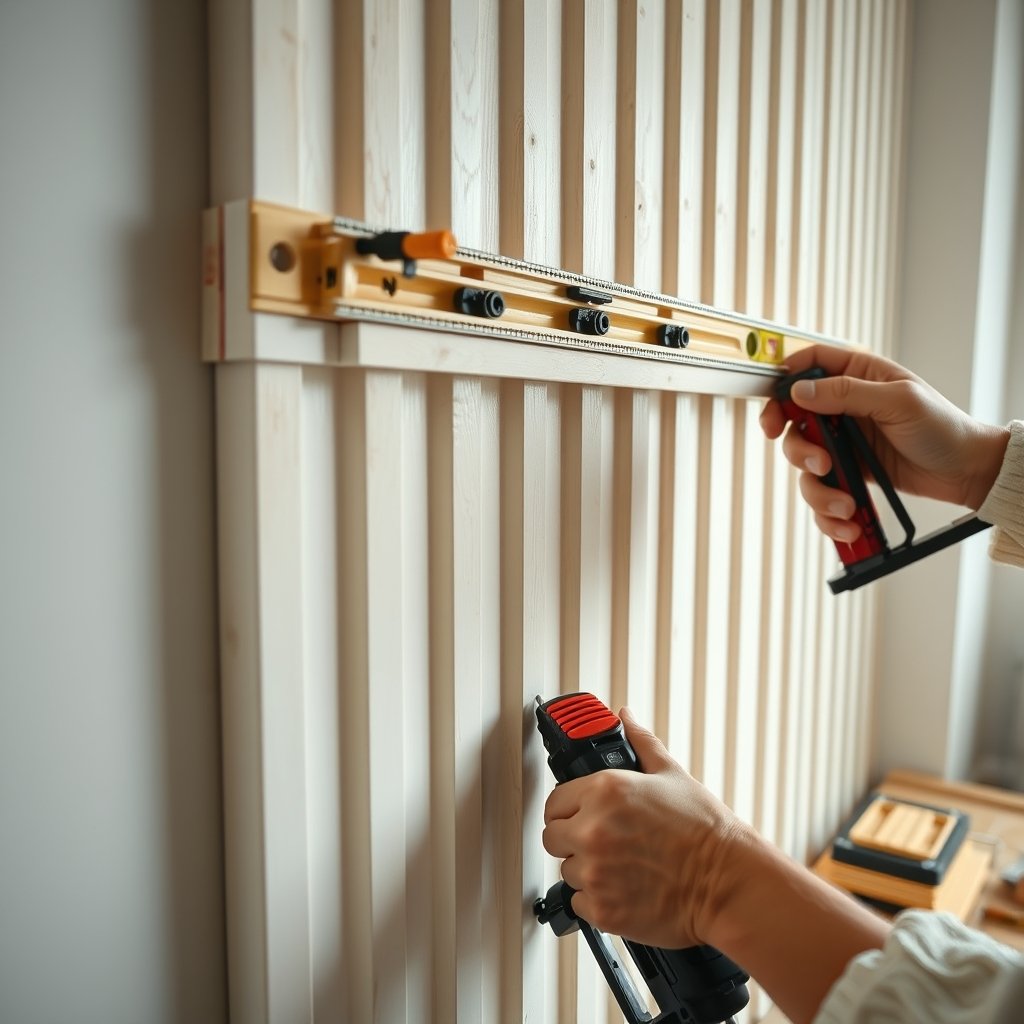
5. Installation Sequence
- Apply adhesive: Use zigzag “S” bead on the back of each panel. Don’t overdo it—excess can ooze into flutes.
- Fasten with brad nailer: Set brads every 16–24” along each panel. Clamp or press until adhesive sets (about 10–30 minutes).
- Maintain spacing: Insert spacers at each joint, especially for half-wall installs, to keep flutes parallel.
- Stagger seams: On longer runs, offset seams at least 12” to prevent visible lines.
- Address corners: Coping saw or miter each corner for neat alignment. Caulk minor gaps.
- Final trim: Install new baseboard, cove, or cap trim as desired to cover edges.
6. Finish & Paint
- Fill nail holes, sand lightly, and prime if using MDF (essential).
- Paint or stain as preferred. Use a sprayer or foam roller for smooth finish between flutes.
Downloadable Planner
Grab our free fluted panel wall DIY planner for a full cut list template and material cost calculator. For more complex wall features, our DIY vs. contractor comparison lays out time and skill factors for each project size.
Advanced Analysis & Common Pitfalls
Fluted panel wall DIY is achievable for most handy homeowners, but the following real-world pitfalls can undermine your results—and eat up your budget:
| Mistake | How to Avoid | Impact |
|---|---|---|
| Misalignment | Use a laser line & start with a level starter piece; check spacing every few panels | Wavy flutes, visible uneven gaps |
| Visible seams | Use longer panels; stagger joints; lightly fill and sand butt joints | Distracting horizontal/vertical lines |
| Moisture damage (MDF) | Prime all sides/edges; use PVC/WPC for bathrooms and kitchens | Swelling or flaking panels |
| Wrong adhesive/nailing pattern | Use construction adhesive AND brads every 16–24”; don’t substitute hot glue or thin CA glue | Panels pop loose or bow |
| Didn’t account for waste | Order at least 10% extra for beginner installs (cuts, errors, wraparounds) | Cannot finish the wall—delays and color mismatch |
Here are more detailed pitfalls that top-ranking tutorials gloss over:
- Panel acclimation: Not letting MDF/wood adjust to room moisture leads to post-install gaps.
- Outlet and trim work: Rushed electrical box cutouts make panels look hacked. Use box extenders if depth changes.
- Cheap saw blades: Dull or wrong blades can chip MDF and cause ragged edges. Always use a fine-tooth crosscut blade for clean lines.
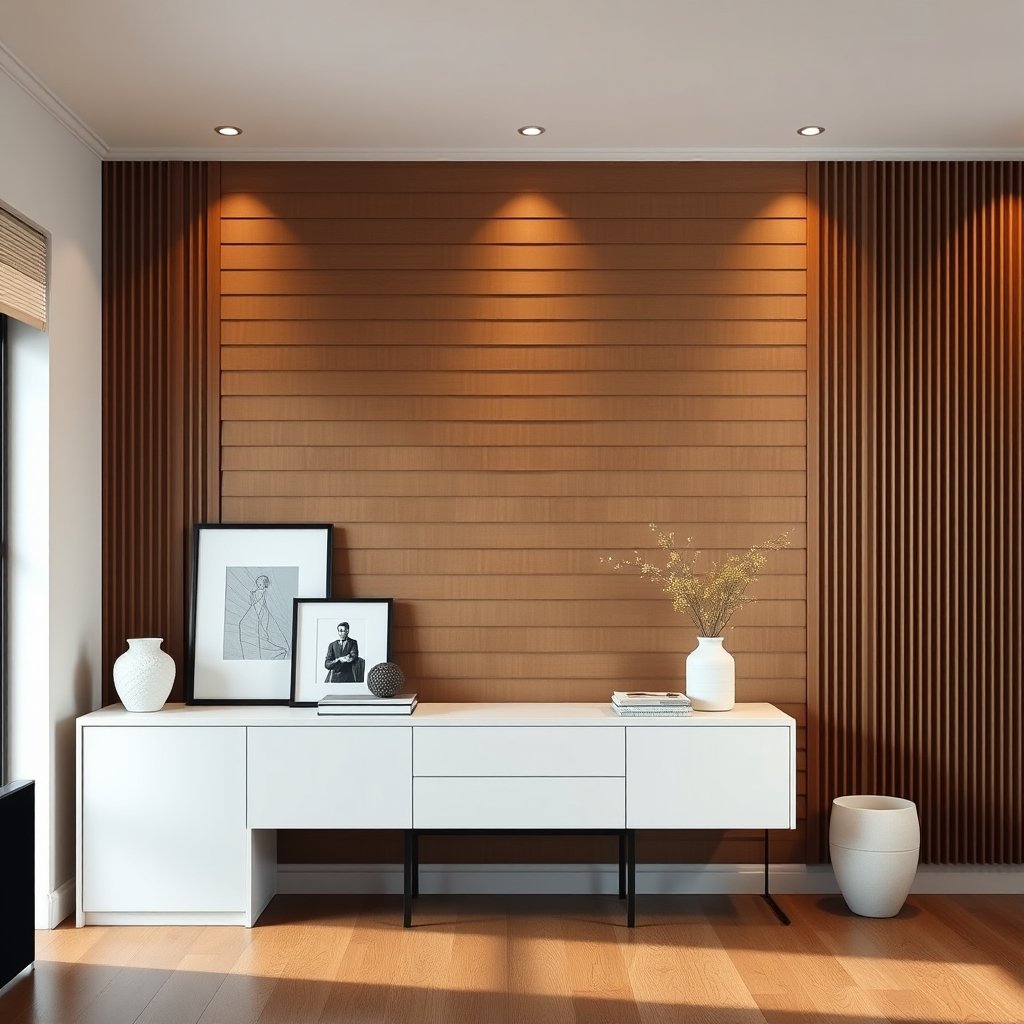
Material choice matters most for both durability and look. According to this buying guide, premium natural wood starts at $20/sq ft and rises fast; MDF is highly economical but cannot handle water without excellent sealing. PVC or WPC is best for bathrooms or laundry rooms (see also these moisture-resistant product examples).
Proper layout and prep prevent 90% of ugly results. For further reading, our alignment tricks for accent walls article details advanced layout and starter rail strategies.
Conclusion & Next Steps
With careful prep and the right tools, a fluted panel wall DIY project can completely transform a boring wall—saving $900–$2,000 versus hiring out. Just remember: account for waste, use proper adhesive + nailing, and don’t skip panel acclimation or layout.
Want a turnkey start? Download our checklist and budget planner for easy shopping and planning. Share your progress, ask questions below, or get a quick quote from a local pro if you need extra hands on a complex or large install.
FAQ
How much can I actually save with a fluted panel wall DIY?
DIY typically costs $5–$15 per square foot, while pro installation can hit $15–$35 per square foot. For a 100 sq ft wall, you’re looking at roughly $600–$1,500 for DIY vs. $1,500–$3,500 for pros—a 40–60% savings.
Is MDF okay for bathrooms or kitchens?
No—MDF swells with moisture unless you painstakingly seal every edge. Use PVC or WPC fluted panels for wet or humid areas instead.
How much extra should I order?
Plan for at least 10% extra material for typical walls, and bump that to 15% for complex layouts with lots of outlet, return, or window cutouts.
What if my wall isn’t perfectly flat?
You’ll need to skim-coat or sand high spots before installing panels—fluted panels will highlight any lumps. If the wall’s out more than 1/4”, consider leveling compound before starting.
What adhesives and brads work best?
Choose a construction adhesive like Loctite PL Premium or Liquid Nails for strongest bond, and use 18–16ga brad nails spaced every 16–24 inches for good mechanical support.
—